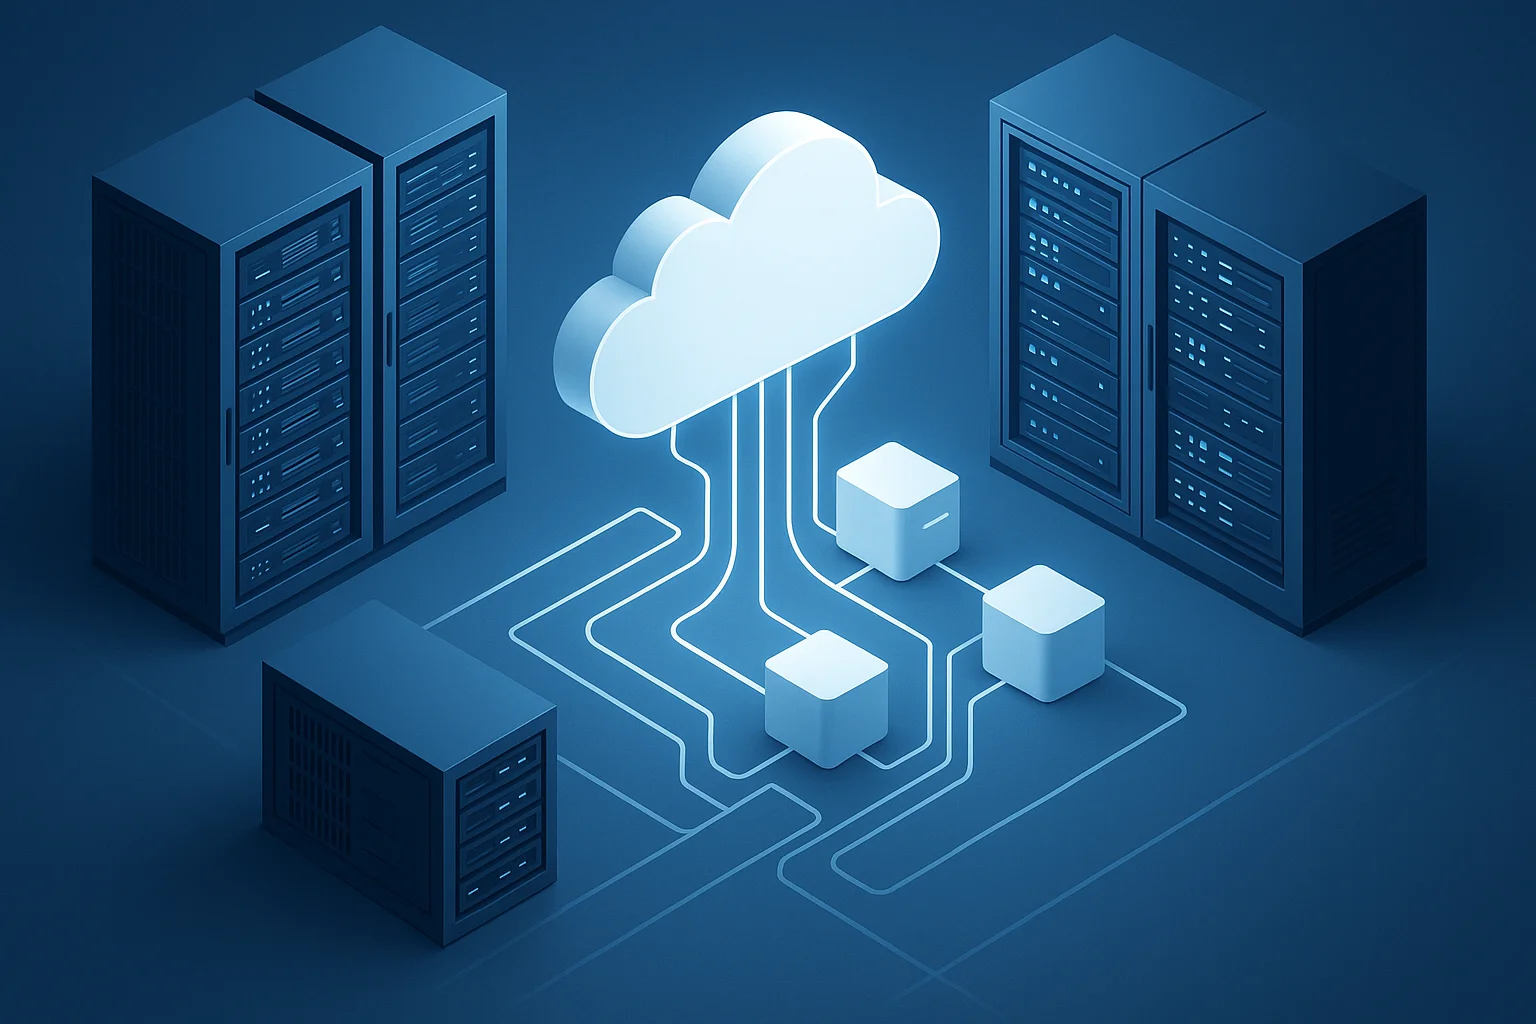
Colocation migration doesn't have to be a white-knuckle experience. I've seen too many companies approach data center moves like they're defusing a bomb—sweating over every cable and praying nothing breaks. But here's the reality: with proper planning and execution, you can migrate your entire infrastructure without your users ever knowing it happened.
The stakes are real. A failed migration can cost thousands in downtime, damage customer relationships, and put your job on the line. But companies successfully execute zero-downtime migrations every day. The difference? They follow a systematic approach that minimizes risk at every step.
Whether you're moving from an aging facility, consolidating locations, or taking advantage of better pricing and services (like Idaho's low-cost renewable energy and strategic location), this guide will walk you through the seven critical steps that separate smooth migrations from disasters.
Understanding the Migration Landscape
Before diving into tactics, let's talk about what makes colocation migration different from other infrastructure moves. Unlike cloud migrations where you can spin up parallel resources, colocation moves involve physical hardware, network connections, and real-world logistics that can't be easily rolled back.
The complexity multiplies when you're dealing with:
- Legacy systems that can't be easily replicated
- Compliance requirements that dictate specific security protocols
- Network dependencies that span multiple systems
- Hardware that's difficult or expensive to replace
I worked with a financial services company that learned this the hard way. They attempted a "quick" weekend migration without proper planning. By Sunday night, they had three critical systems offline and spent the next week in crisis mode. The lesson? Respect the complexity and plan accordingly.
Step 1: Comprehensive Discovery and Assessment
Your migration is only as good as your understanding of what you're moving. This isn't just about creating an inventory—it's about mapping every dependency, understanding every critical path, and identifying every potential failure point.
Infrastructure Mapping
Start with a complete asset inventory that goes beyond basic hardware lists:
# Example discovery script for Linux systems
#!/bin/bash
echo "=== System Information ===" > system_audit.txt
hostname >> system_audit.txt
uptime >> system_audit.txt
cat /proc/version >> system_audit.txt

echo "=== Network Configuration ===" >> system_audit.txt
ip addr show >> system_audit.txt
netstat -rn >> system_audit.txt

echo "=== Storage Information ===" >> system_audit.txt
df -h >> system_audit.txt
lsblk >> system_audit.txt

echo "=== Running Services ===" >> system_audit.txt
systemctl list-units --type=service --state=running >> system_audit.txt
But technical inventory is just the beginning. You need to understand:
- Business criticality: Which systems absolutely cannot go down?
- Dependencies: What happens when System A is offline? What other systems are affected?
- Recovery requirements: How quickly does each system need to be restored?
- Compliance constraints: Are there regulatory requirements that limit your migration options?
Risk Assessment Matrix
Create a risk matrix that categorizes each system:
| System | Criticality | Dependencies | Migration Risk | Mitigation Strategy |
|---|---|---|---|---|
| Payment Gateway | Critical | Database, Auth | High | Parallel deployment |
| Email Server | Medium | Directory Service | Low | Quick cutover |
| Development Environment | Low | None | Very Low | Scheduled downtime |
This matrix becomes your roadmap for prioritizing migration activities and allocating resources.
Step 2: Network Architecture and Connectivity Planning
Network connectivity is where most migrations fail. You're not just moving servers—you're recreating an entire network environment while maintaining seamless connectivity for users and systems.
Dual-Homed Architecture
The gold standard for zero-downtime migration is establishing connectivity to both your current and destination facilities simultaneously. This creates a bridge that allows for gradual migration and easy rollback.
Key considerations for dual connectivity:
- Bandwidth requirements: Ensure adequate capacity for replication and user traffic
- Latency implications: Test application performance across the extended network
- Security zones: Maintain network segmentation and security policies
- Routing protocols: Plan BGP announcements and failover scenarios
IP Address Strategy
One of the biggest technical challenges is managing IP addressing during migration. You have several options:
Option 1: Maintain existing IP ranges
- Requires coordination with ISPs and network providers
- Cleanest from an application perspective
- More complex to implement
Option 2: Implement new IP ranges
- Simpler network setup
- Requires application configuration changes
- May impact external integrations
Option 3: Hybrid approach
- Critical systems keep existing IPs
- Non-critical systems get new addresses
- Balances complexity with functionality
I recommend the hybrid approach for most migrations. It gives you flexibility while minimizing application changes for your most critical systems.
Step 3: Data Synchronization and Replication
Data is the heart of your infrastructure, and keeping it synchronized across two locations while maintaining consistency is a complex challenge. Your approach depends on your database technology, data volumes, and consistency requirements.
Database Replication Strategies
Real-time replication works well for databases that support it:
-- Example MySQL replication setup
CHANGE MASTER TO
  MASTER_HOST='source.example.com',
  MASTER_USER='replication_user',
  MASTER_PASSWORD='secure_password',
  MASTER_LOG_FILE='mysql-bin.000001',
  MASTER_LOG_POS=107;

START SLAVE;
Application-level synchronization gives you more control:
# Example Python sync script
import time
import mysql.connector
from datetime import datetime

def sync_critical_data():
    source_db = mysql.connector.connect(host='source', ...)
    target_db = mysql.connector.connect(host='target', ...)

    # Sync customer data with conflict resolution
    cursor_source = source_db.cursor()
    cursor_target = target_db.cursor()

    cursor_source.execute("SELECT * FROM customers WHERE updated_at > %s",
                         (last_sync_time,))

    for row in cursor_source:
        # Implement your conflict resolution logic here
        cursor_target.execute("REPLACE INTO customers VALUES (%s, %s, ...)",
                             row)

    target_db.commit()
File System Synchronization
For file-based data, tools like rsync provide reliable synchronization:
# Initial sync (can run while systems are live)
rsync -avz --progress /data/ target-server:/data/

# Incremental sync (minimize final cutover time)
rsync -avz --delete --progress /data/ target-server:/data/

# Final sync during cutover window
rsync -avz --delete --checksum /data/ target-server:/data/
The key is running multiple sync cycles, with the final synchronization happening during your maintenance window to minimize the time systems are offline.
Step 4: Testing and Validation Framework
Testing isn't something you do after migration—it's an ongoing process that starts early and continues throughout. Your testing framework should validate not just that systems work, but that they perform as expected under real-world conditions.
Staged Testing Approach
Unit Testing: Individual system functionality
# Example health check script
#!/bin/bash
services=("nginx" "mysql" "redis" "app-server")

for service in "${services[@]}"; do
    if systemctl is-active --quiet $service; then
        echo "✓ $service is running"
    else
        echo "✗ $service is not running"
        exit 1
    fi
done
Integration Testing: System-to-system communication
# Example integration test
import requests
import json

def test_payment_flow():
    # Test complete payment processing chain
    response = requests.post('https://api.example.com/payments',
                           json={'amount': 100, 'currency': 'USD'})

    assert response.status_code == 200
    assert response.json()['status'] == 'success'

    # Verify database record was created
    # Verify email notification was sent
    # Verify audit log entry exists
Load Testing: Performance under expected traffic
Use tools like Apache Bench or custom scripts to simulate real user loads:
# Load test critical endpoints
ab -n 1000 -c 10 https://api.example.com/health
ab -n 500 -c 5 -p post_data.json -T application/json https://api.example.com/orders
Monitoring and Alerting
Implement comprehensive monitoring before migration starts. You need visibility into:
- System performance metrics
- Application response times
- Error rates and patterns
- Network connectivity and latency
- Storage utilization and I/O patterns
This baseline becomes critical for validating that your migrated systems perform as well as (or better than) the originals.
Step 5: Orchestrated Cutover Execution
The cutover is where all your planning comes together. Even with perfect preparation, execution requires careful coordination and clear communication.
Cutover Runbook
Create a detailed runbook that includes:
- Timeline with specific milestones
- Responsible parties for each task
- Communication checkpoints
- Rollback triggers and procedures
- Validation steps at each phase
Here's a sample cutover timeline:
Hour 0: Begin maintenance window
  - Notify users and stakeholders
  - Stop non-critical services
  - Begin final data synchronization

Hour 1: Network cutover preparation
  - Verify dual connectivity
  - Update DNS TTL values
  - Prepare BGP route changes

Hour 2: Application cutover
  - Stop application services
  - Complete final data sync
  - Start services at new location
  - Update network routes

Hour 3: Validation and testing
  - Run automated test suite
  - Verify critical business functions
  - Monitor system performance

Hour 4: Go/no-go decision
  - Review all validation results
  - Commit to new location or rollback
  - Update monitoring and alerting

Hour 5: Post-cutover activities
  - Full system verification
  - Update documentation
  - Begin extended monitoring period
Communication Protocol
Clear communication prevents chaos during cutover. Establish:
- Primary communication channel (Slack, Teams, conference bridge)
- Escalation procedures for issues
- Status update schedule (every 30 minutes minimum)
- Decision-making authority (who can call rollback?)
Step 6: Risk Mitigation and Rollback Planning
No migration plan is complete without a comprehensive rollback strategy. You need to be able to return to your original state quickly if things go wrong.
Rollback Triggers
Define clear criteria that automatically trigger rollback:
- Critical system unavailable for more than X minutes
- Performance degradation beyond acceptable thresholds
- Data integrity issues detected
- Network connectivity problems that can't be resolved quickly
Rollback Procedures
Your rollback plan should be as detailed as your migration plan:
#!/bin/bash
# Emergency rollback script
echo "INITIATING EMERGENCY ROLLBACK - $(date)"

# 1. Stop services at new location
systemctl stop application-services

# 2. Revert network changes
./revert-bgp-routes.sh

# 3. Update DNS records
./update-dns-to-original.sh

# 4. Restart services at original location
ssh original-server "systemctl start application-services"

# 5. Verify rollback success
./validate-original-systems.sh

echo "ROLLBACK COMPLETE - $(date)"
Data Protection
Ensure you can recover data integrity during rollback:
- Database snapshots before cutover begins
- File system backups of critical data
- Transaction logs to replay changes if needed
- Replication lag monitoring to ensure data consistency
Step 7: Post-Migration Optimization and Monitoring
Migration success isn't just about avoiding downtime—it's about ensuring your new environment performs better than what you left behind. This is especially relevant when moving to locations with advantages like Idaho's low-cost renewable energy and modern infrastructure.
Performance Baseline Validation
Compare post-migration performance to your original baseline:
- Response times: Are applications as fast or faster?
- Throughput: Can you handle the same transaction volumes?
- Resource utilization: Are you using resources efficiently?
- Network latency: How do round-trip times compare?
Optimization Opportunities
Take advantage of your new environment:
- Updated hardware: Newer servers often provide better performance per watt
- Improved networking: Modern data centers offer better connectivity options
- Energy efficiency: Locations like Idaho offer renewable energy advantages
- Proximity benefits: Being closer to your user base can improve performance
Extended Monitoring Period
Plan for intensive monitoring for at least 30 days post-migration:
- Daily performance reviews for the first week
- Weekly assessments for the first month
- Monthly evaluations for the first quarter
This extended monitoring helps identify issues that only appear under specific conditions or over time.
Real-World Migration Success Story
A healthcare technology company we worked with recently completed a complex migration from an aging East Coast facility to a modern Idaho data center. They were running a mix of legacy systems and modern applications serving over 100,000 users.
The challenge? Zero tolerance for downtime due to HIPAA compliance requirements and 24/7 clinical operations. Their old facility was expensive, had reliability issues, and couldn't provide the redundancy they needed.
Using the seven-step approach outlined above, they:
- Completed a six-week discovery phase that identified 47 critical systems
- Established dual connectivity with 10Gbps links to both facilities
- Implemented real-time database replication for their patient data systems
- Conducted three full migration rehearsals in their staging environment
- Executed the cutover over a planned 8-hour maintenance window
- Achieved sub-5ms latency improvement for their Idaho-based users
- Reduced their infrastructure costs by 35% while improving performance
The result? Zero unplanned downtime, improved performance, significant cost savings, and a modern infrastructure platform that supports their growth plans.
Your Migration Success Starts with the Right Partner
Executing a zero-downtime colocation migration requires more than just following a checklist—it demands expertise, experience, and infrastructure that can support your transition seamlessly. IDACORE's Boise-based team has guided dozens of companies through complex migrations, combining technical expertise with local knowledge that makes the difference between a smooth transition and a costly mistake.
Our Idaho data center offers the strategic advantages that make migration worthwhile: 30-40% cost savings compared to traditional providers, sub-5ms latency for Treasure Valley businesses, and infrastructure powered by renewable energy. Plus, when you're planning your migration at 2 AM on a Saturday, you'll reach a real human who knows your environment—not an offshore support queue.
Schedule your migration consultation with our team and discover why companies choose IDACORE for their most critical infrastructure moves.